

It is a really moist vanilla cake with chocolate icing. Bakerella used two kinds of chocolate icing, so I did, too, but in the future, I might make a change.
Prepare 12 9 in. disposable cake pans by buttering the pans, lining them with parchment, buttering the parchment, and flouring the pans.


Mix the sifted, dry ingredients, and set those aside. Begin mixing the butter and sugar until light and fluffy. Scrape down the sides of the bowl, and also scrape up the stuff from the bottom.

Add the eggs one at a time, mixing and scraping and all that.

Add the flour at low speed in three additions, separated by additions of the milk. Remember to scrape, scrape, scrape the sides/bottom of the bowl.

Then add the vanilla, and make sure that everything is sufficiently mixed. I preheated the oven at this point, because I knew it would take me a while to portion out the batter. I used a 1/2 cup measuring cup to put ~1 cup of batter into each pan.

Then I spread it out all nice and thin and dropped the pans to try to remove air bubbles.

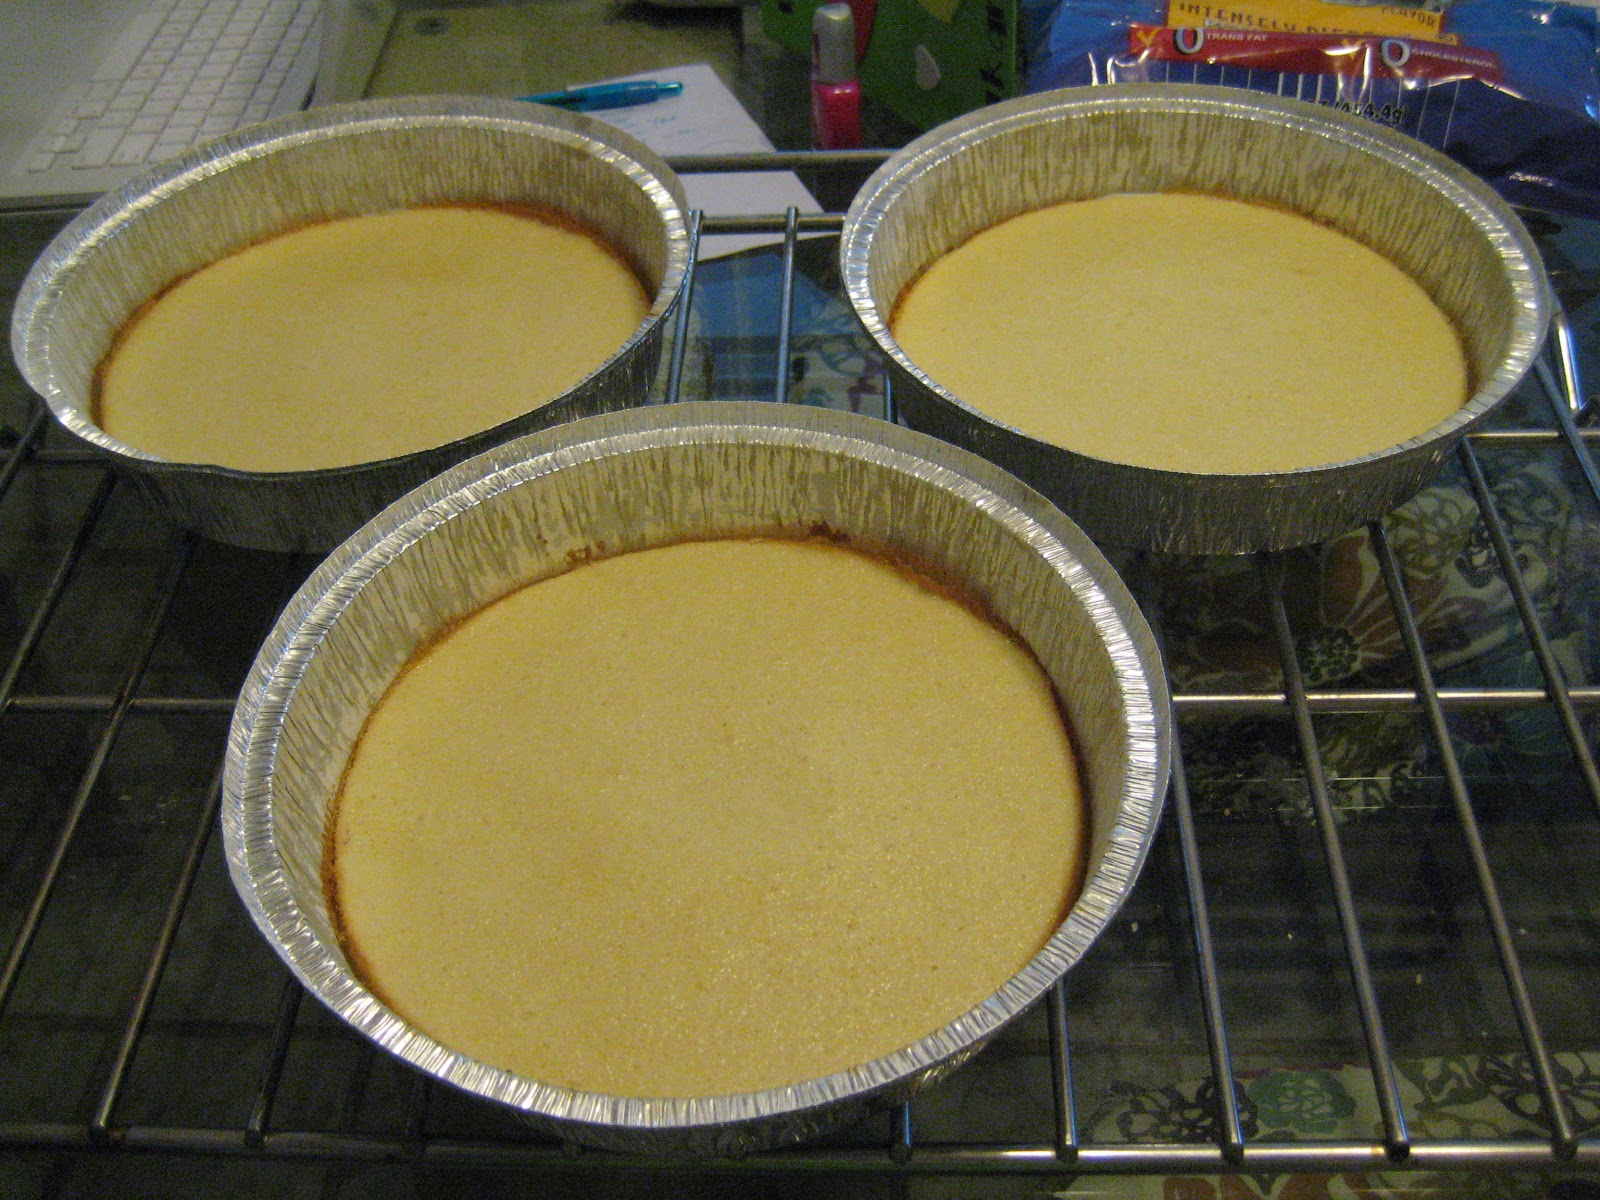
Then I got all my layers ready for baking.

I was able to bake them in groups of three for 12-14 minutes per batch. I had a few problems with air bubbles - one layer didn't make it into the cake because it was riddled with giant holes. Layers were cooled for 5 minutes in the pans and then turned out onto racks to cool completely.

Once the layers were cooled, I stacked them on a wax-paper-lined plate, separated with sheets of waxed paper.

Then it was time to make the glaze (thin icing) by mixing the butter, sugar, cocoa, and evaporated milk in a pot and bringing that mixture to a boil. Then I reduced the heat and boiled for about 5 more minutes until the mixture was slightly thickened.

Then I added the vanilla,

mixed it around, and ultimately moved it into a bowl to cool. Then I started frosting the cake, layer by layer.


It was at approximately this point that I knocked my camera off the counter, shattering the LCD screen. Fortunately, the lens still works, so I can take pictures using the viewfinder, but the only thing I know how to do without using the menus is turn the flash from "auto" to "off". It was also at this point that I pitched a major fit because I broke my camera. I think I have an unnatural attachment to my electronic devices. I actually cried a bit. =(
However, the show must go on, so I continued icing the cake and taking pictures through the view finder. If any look too bright, I apologize, but now I can't check the picture quality on that convenient little LCD screen.
Icing continued until the top layer was on, and the drips were dripping away like crazy!


Then I mixed up the other frosting suggested by Bakerella. I didn't have any dark chocolate cocoa, so I compensated with 2/3 c. of dark chocolate chips that Darren melted for me in the microwave. =)


Due to the broken LCD screen, I didn't do so well at documenting this part. I made the frosting, and put it in the refrigerator while the drips continued, and Darren and I went to the Fox and Hound for drinks and appetizers with his sister and sundry friends to celebrate her birthday.
When we got home, it appeared as though most of the drips had stopped, so I iced the cake with the cream cheese based icing. Then I put it on the cake stand that we got as a wedding gift and went to bed. Darren's sister and her husband came over on Sunday, and we cut into the cake.

Sorry for my shoddy work with the viewfinder, but the cake was great! I think that if I make this cake again, I will not pour the liquid-y glaze over the top layer, but instead beat a cup or two of powdered sugar into the remaining glaze and use that to ice the cake.
Also, I plan to use the cake part as a base for my grandmother's caramel icing. I will let you know how that turns out at some point in the future. Happy baking!
The chocolate Peanut Butter cake for my birthday was AMAZING. I am sad to not get to try this many-layered cake. It looks incredibly indulgent (as I abhor the word 'decadent' for some reason).
ReplyDeleteKyle, I would say this cake is equally good in a different way. Maybe next time we come visit, I'll bring one of these instead of brownies. Or maybe after we get all settled in our new place, y'all can visit us!
ReplyDelete