School's out for summer! School's out forever! ... Not really, but school is out for summer, and I've had that Alice Cooper song stuck in my head. School actually ended three weeks ago, but I did summer workshops, so I just finished on Friday. I am ready for some fun and relaxation!
Sunday: Mi Toro (with my Mama!)
Monday: Build-Your-Own Salad and Coconut Poke Cake
Tuesday: Cheater Korean Beef Bowls, Cabbage, Carrots, and Edamame
Wednesday: Darren's Green Chili Chicken Enchiladas and Guacamole
Thursday: Fish Tacos with Cabbage, Lime, & Avocado and Fruit
Friday: Date Night! Lib's Pick!
Showing posts with label cake. Show all posts
Showing posts with label cake. Show all posts
Monday, June 12, 2017


Monday, April 10, 2017
Meal Plan Monday #219
It's almost Easter! I'm looking forward to a short week. I could use a long weekend to catch up! I'm having some friends over Monday for dinner, so I'm making lasagne to feed a crowd. I'm actually making it Sunday, then I'll put it in the oven when I get home from work on Monday, and it'll be ready for dinner!
Sunday: Fish Tacos and Fruit Salad
Monday: Lasagna Primavera with Caesar Salad and Brown Sugar Pound Cake
Tuesday: Darren's Fried Rice with Egg Rolls
Wednesday: Tutorial Night Takeout!
Thursday: Cast Iron Seared Steak, Loaded Mashed Potatoes, and Salad
Friday: Date Night! Darren's Pick!
Sunday: Fish Tacos and Fruit Salad
Monday: Lasagna Primavera with Caesar Salad and Brown Sugar Pound Cake
Tuesday: Darren's Fried Rice with Egg Rolls
Wednesday: Tutorial Night Takeout!
Thursday: Cast Iron Seared Steak, Loaded Mashed Potatoes, and Salad
Friday: Date Night! Darren's Pick!
Thursday, September 6, 2012
Small-Batch Baking: Vanilla Layer Cake
For Labor Day, I made another small-batch dessert. I finally got to use my tiny layer cake pans! If you don't have any small cake pans, ramekins or a single 6" cake pan will do. If you only cook a single 6" layer, you will have lots of leftover icing, but that's not necessarily a bad thing!


There is no need to get out a mixer. I used one small to medium mixing bowl, two small custard dishes or ramekins (one for melting butter and one for separating the egg), a whisk, and a wooden spoon or silicone spatula are all the necessary tools. Plus measuring cups and spoons, of course. I washed the tools by hand while the cakes were baking and used the same ones for making the icing.
I made this vanilla cake with vanilla bean sour cream icing. It sort of reminds me of a Lord Baltimore cake, probably due to the fairly intense yellow color and relatively dense, moist texture.
It was pretty fast to make, super cute, and so delicious! Here it is next to the box of baking soda for size comparison.

YUM! We cut it into four pieces and shared with a couple of friends, but if you really want a special treat, just share it with a loved one!

Thursday, June 7, 2012
Brown Sugar Pound Cake Cupcakes with Browned Butter Glaze
You may or may not know that I am a high school teacher. I teach chemistry and physics in Phoenix. School got out two weeks ago, and my seniors graduated. I will miss them dearly, and I wish them all the best in the future.


Then I spent a week writing evaluations, and now I am enjoying my summer. One of my plans is to blog more regularly. I have a plan for three posts a week. We'll see how it goes.
I am so used to planning my school week on Sundays that I really didn't know what to do with myself this past weekend. One of my tall girls suggested I bake something, and I had seen this recipe a few days prior, so I took some butter out of the freezer and got started.

I creamed the butter and brown sugar according to the directions, and then added the eggs.


The one change that I did make the the recipe was that I added some vanilla bean paste to the batter. I didn't measure it, I just added a dollop of the stuff, but probably about two teaspoons. I first discovered vanilla bean paste last winter when I was making Christmas treats.

Then I alternated the sifted flour and buttermilk.

The batter is pretty thick. I used an ice cream scoop to fill the muffin cups, because I read that using the scoop makes perfect cupcakes, but I would suggest using less than a full scoop. Most of my cup cakes extended over the tops by a lot.

Once the first batch came out of the oven, I started browning the butter.

The recipe mentions removing the solid bits from the browned butter, and there were a lot of them.

I measured the sugar, added vanilla and vanilla bean paste, and mixed in the butter.


Then I added milk one splash at a time until the glaze was creamy and pourable.

Then I glazed the cupcakes. I put them on a rack over a parchment-lined baking sheet.


We let the glaze set for a while and then ate a delicious cuppy cake with a tall glass of cold milk.

The cake is fantastic. I think it would make an excellent bundt cake. The edges are amazing due to the brown sugar. I might try different glazes or frostings. I like the browned butter glaze, but it was a little weird at first.
Enjoy summer!
Monday, May 16, 2011
Many Layer Cake
I started reading Bakerella's blog a few years ago, and have long wanted to try out the fourteen layer cake. I bake brownies and cookies every few weeks, but for some reason, cakes are special. I feel like I need an excuse to bake a cake. A couple of years ago, I made this chocolate peanut butter cake from Smitten Kitchen for Darren's friend Kyle's birthday.

 It was a delicious cake, and sometime I might bake it again, but I always want new adventures. So for my sister-in-law's birthday, I made the multilayer cake.
It is a really moist vanilla cake with chocolate icing. Bakerella used two kinds of chocolate icing, so I did, too, but in the future, I might make a change.
Prepare 12 9 in. disposable cake pans by buttering the pans, lining them with parchment, buttering the parchment, and flouring the pans.




It is a really moist vanilla cake with chocolate icing. Bakerella used two kinds of chocolate icing, so I did, too, but in the future, I might make a change.
Prepare 12 9 in. disposable cake pans by buttering the pans, lining them with parchment, buttering the parchment, and flouring the pans.


Mix the sifted, dry ingredients, and set those aside. Begin mixing the butter and sugar until light and fluffy. Scrape down the sides of the bowl, and also scrape up the stuff from the bottom.

Add the eggs one at a time, mixing and scraping and all that.

Add the flour at low speed in three additions, separated by additions of the milk. Remember to scrape, scrape, scrape the sides/bottom of the bowl.

Then add the vanilla, and make sure that everything is sufficiently mixed. I preheated the oven at this point, because I knew it would take me a while to portion out the batter. I used a 1/2 cup measuring cup to put ~1 cup of batter into each pan.

Then I spread it out all nice and thin and dropped the pans to try to remove air bubbles.

Then I got all my layers ready for baking.

I was able to bake them in groups of three for 12-14 minutes per batch. I had a few problems with air bubbles - one layer didn't make it into the cake because it was riddled with giant holes. Layers were cooled for 5 minutes in the pans and then turned out onto racks to cool completely.
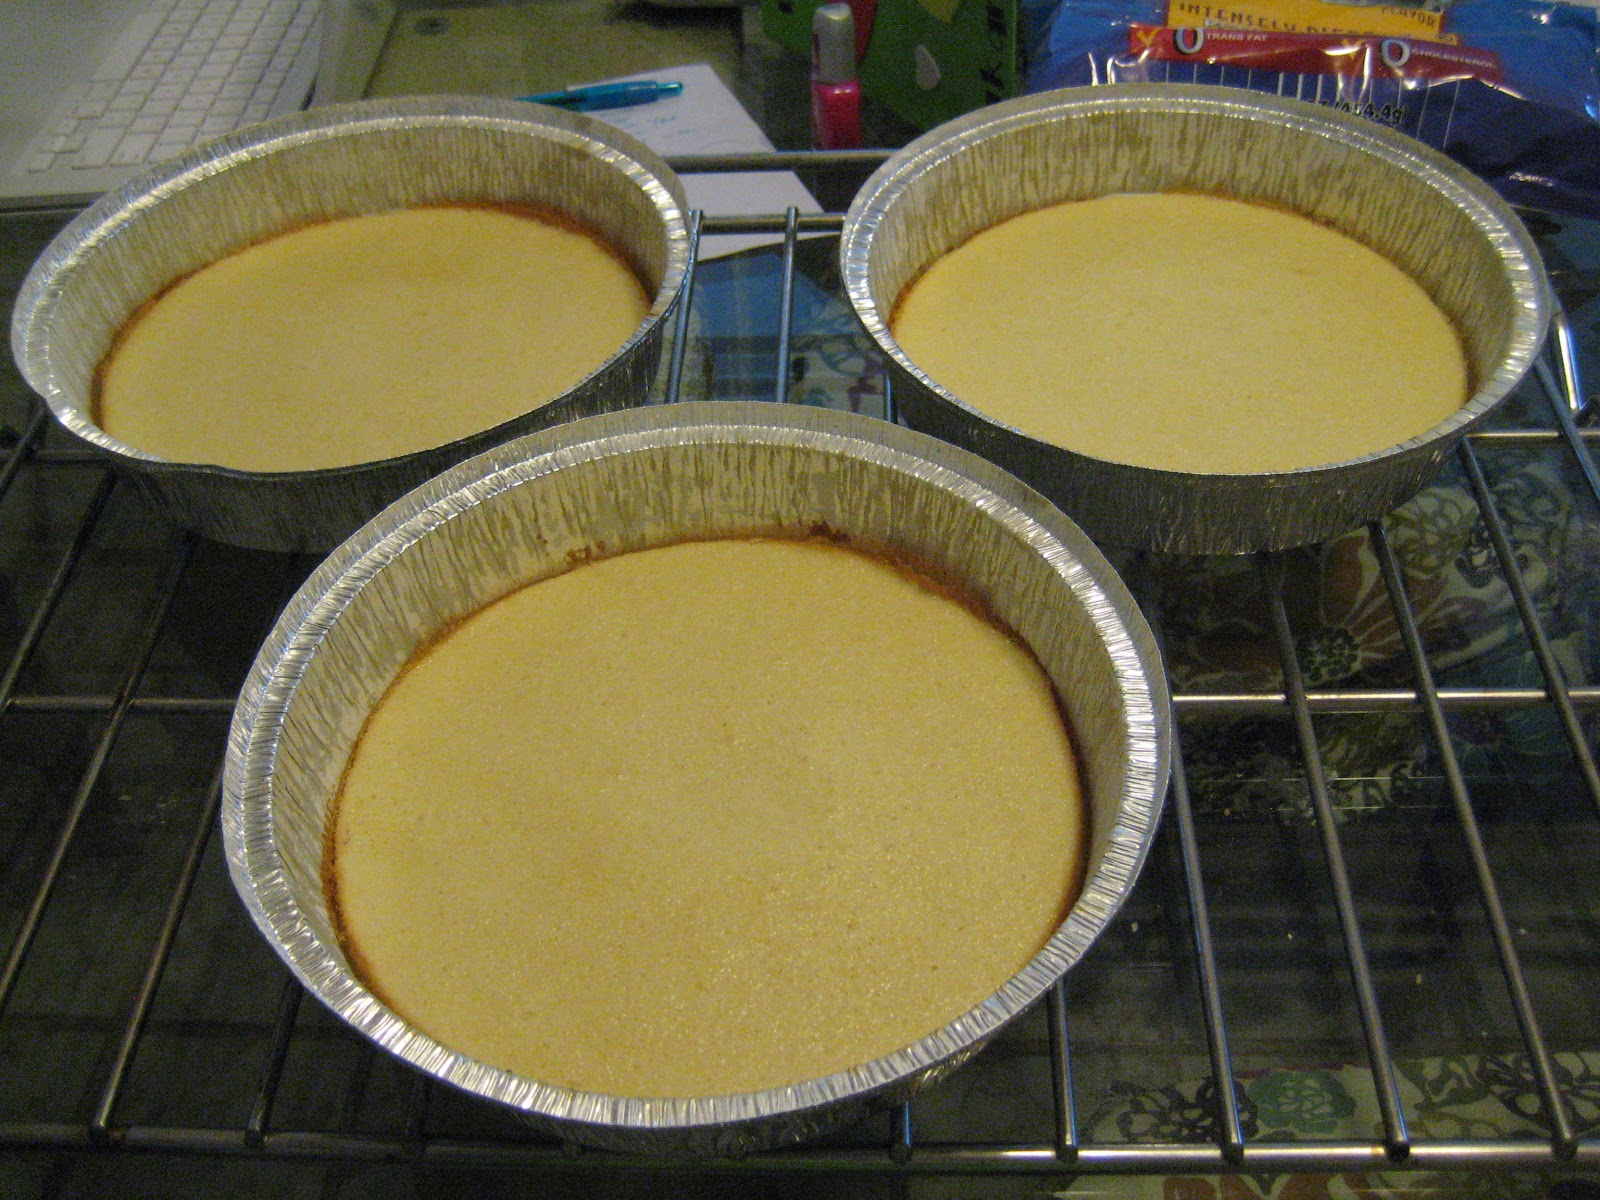

Once the layers were cooled, I stacked them on a wax-paper-lined plate, separated with sheets of waxed paper.

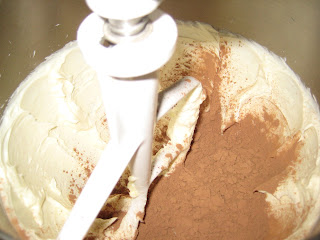
Then it was time to make the glaze (thin icing) by mixing the butter, sugar, cocoa, and evaporated milk in a pot and bringing that mixture to a boil. Then I reduced the heat and boiled for about 5 more minutes until the mixture was slightly thickened.

Then I added the vanilla,

mixed it around, and ultimately moved it into a bowl to cool. Then I started frosting the cake, layer by layer.


It was at approximately this point that I knocked my camera off the counter, shattering the LCD screen. Fortunately, the lens still works, so I can take pictures using the viewfinder, but the only thing I know how to do without using the menus is turn the flash from "auto" to "off". It was also at this point that I pitched a major fit because I broke my camera. I think I have an unnatural attachment to my electronic devices. I actually cried a bit. =(
However, the show must go on, so I continued icing the cake and taking pictures through the view finder. If any look too bright, I apologize, but now I can't check the picture quality on that convenient little LCD screen.
Icing continued until the top layer was on, and the drips were dripping away like crazy!


Then I mixed up the other frosting suggested by Bakerella. I didn't have any dark chocolate cocoa, so I compensated with 2/3 c. of dark chocolate chips that Darren melted for me in the microwave. =)


Due to the broken LCD screen, I didn't do so well at documenting this part. I made the frosting, and put it in the refrigerator while the drips continued, and Darren and I went to the Fox and Hound for drinks and appetizers with his sister and sundry friends to celebrate her birthday.
When we got home, it appeared as though most of the drips had stopped, so I iced the cake with the cream cheese based icing. Then I put it on the cake stand that we got as a wedding gift and went to bed. Darren's sister and her husband came over on Sunday, and we cut into the cake.

Sorry for my shoddy work with the viewfinder, but the cake was great! I think that if I make this cake again, I will not pour the liquid-y glaze over the top layer, but instead beat a cup or two of powdered sugar into the remaining glaze and use that to ice the cake.
Also, I plan to use the cake part as a base for my grandmother's caramel icing. I will let you know how that turns out at some point in the future. Happy baking!
Subscribe to:
Posts (Atom)